Spring Security - 인증 구현(3): HTTP Basic 인증
in DEV on SpringSecurity Http-basic
HTTP Basic 인증 방식과 양식 기반 로그인 인증 방식에 대해 알아본다.
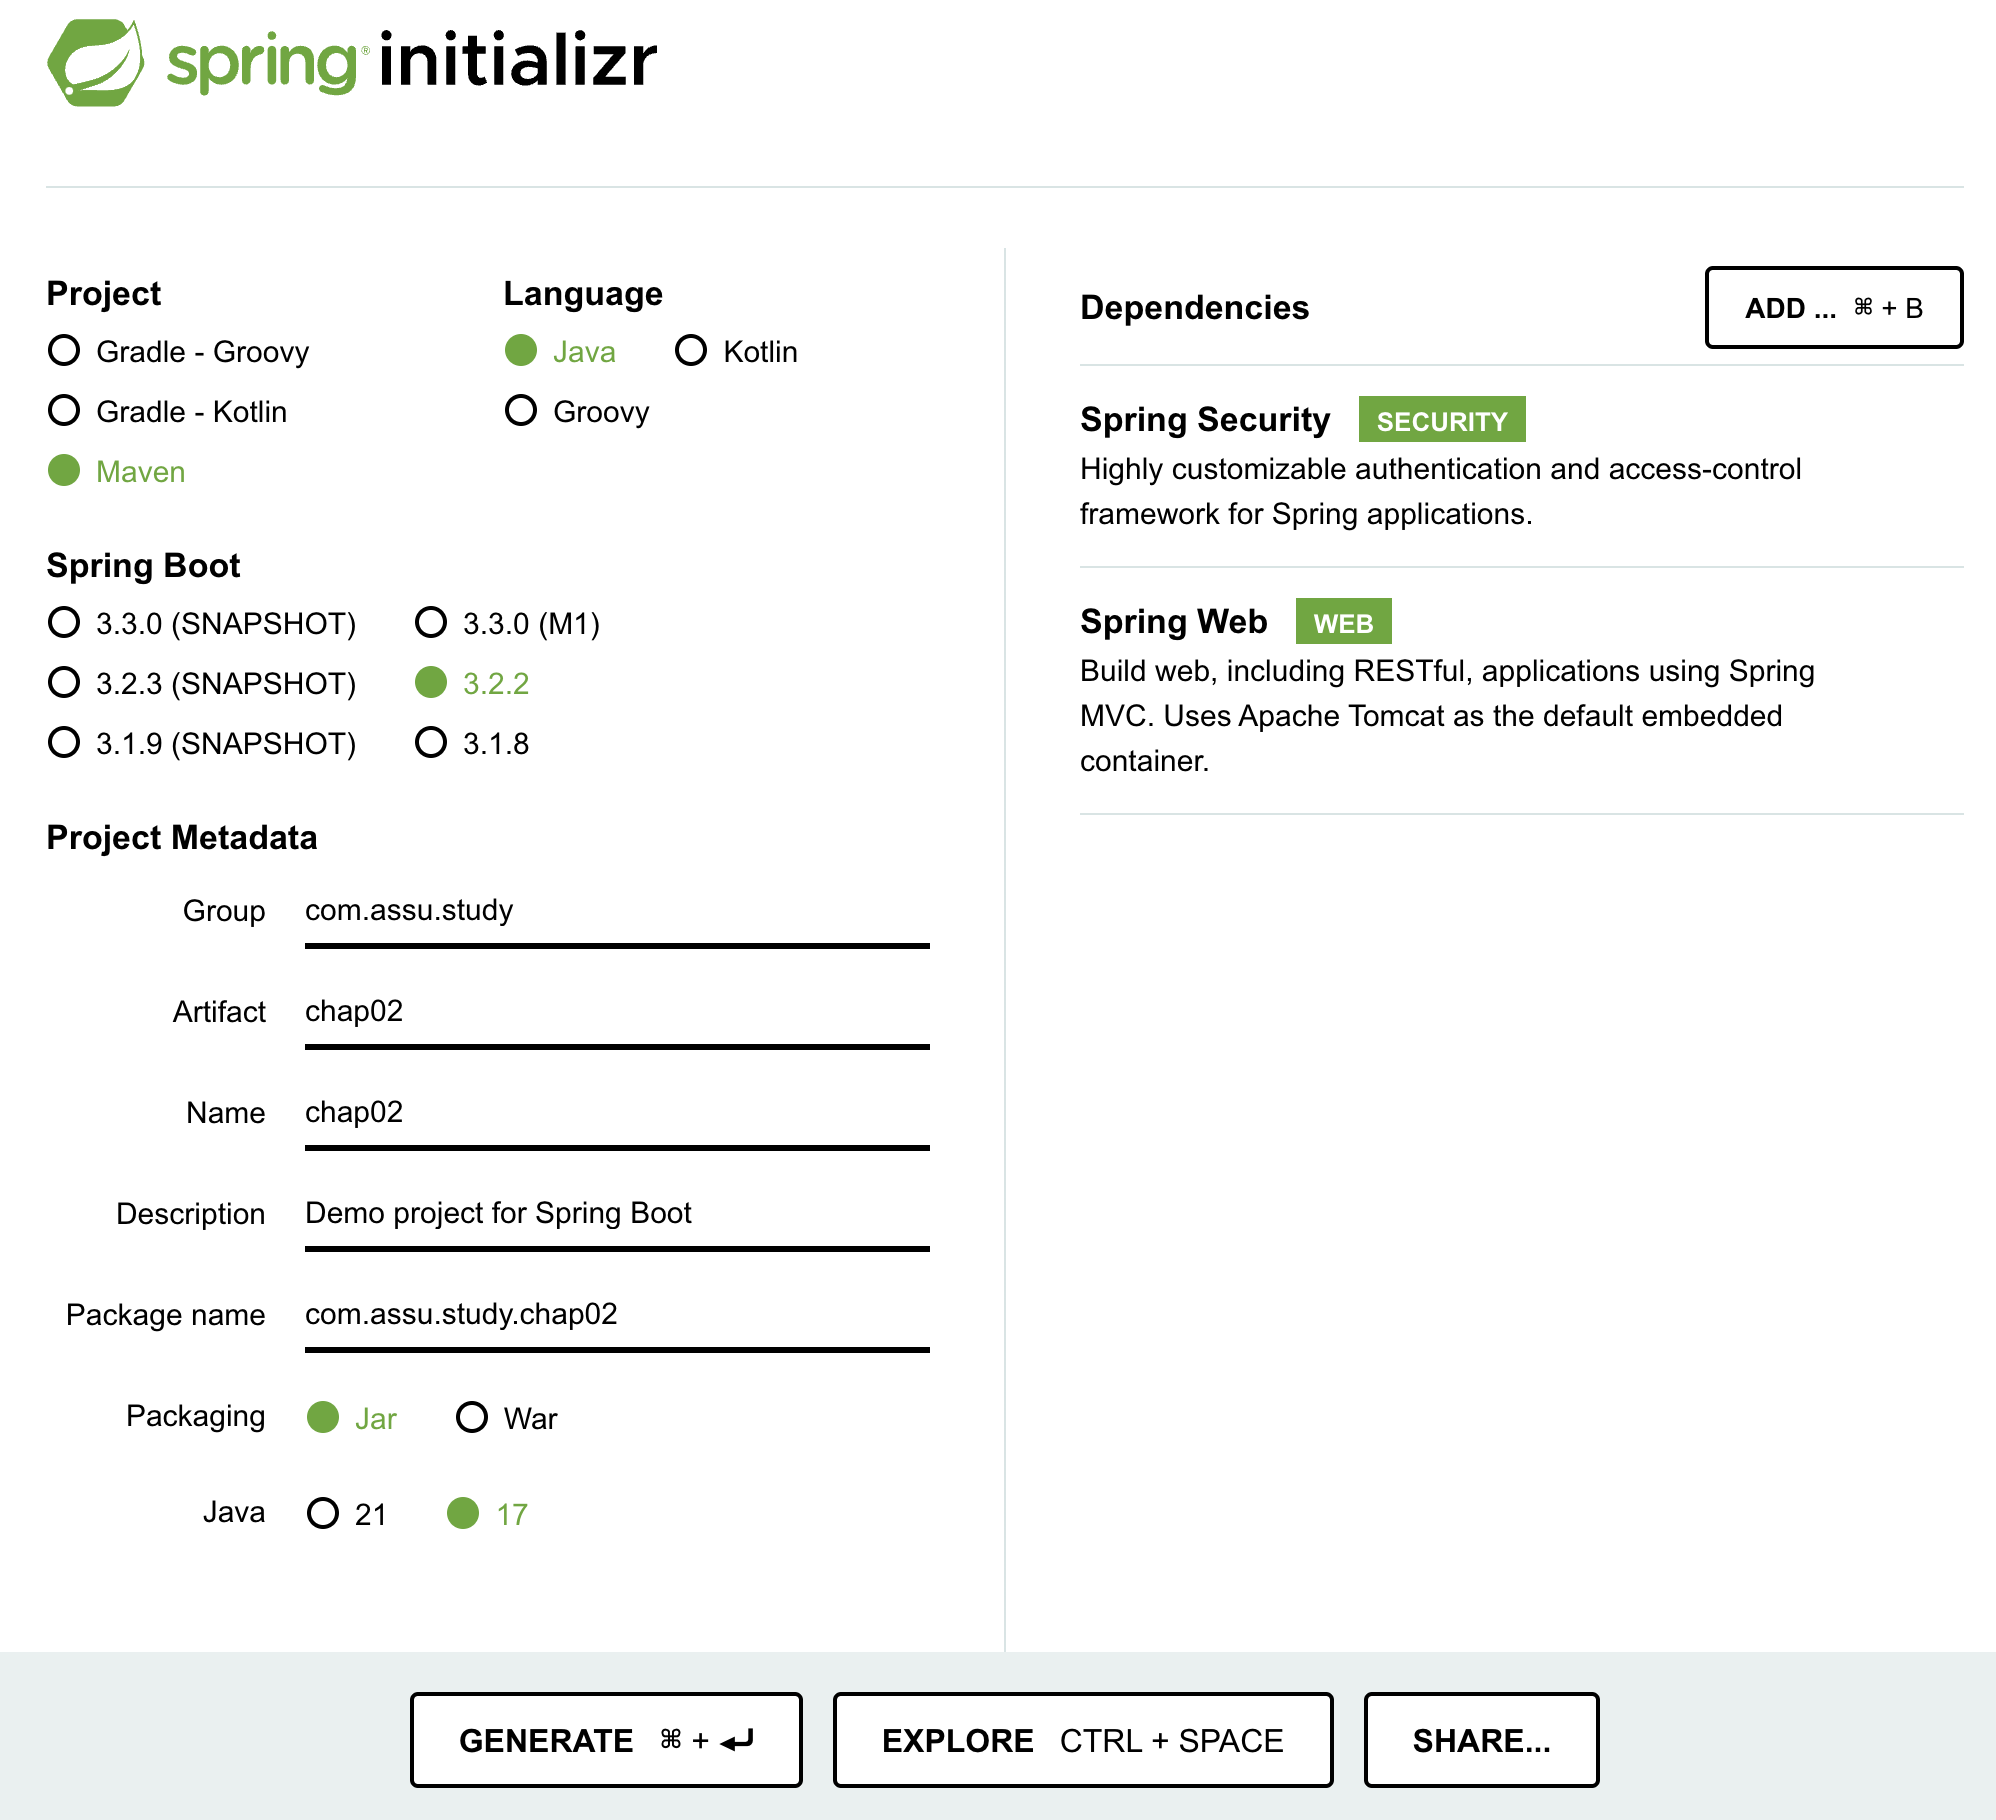
개발 환경
- 언어: java
- Spring Boot ver: 3.2.2
- Spring ver: 6.1.3
- Spring Security ver: 6.2.1
- IDE: intelliJ
- SDK: JDK 17
- 의존성 관리툴: Maven
1. HTTP Basic 인증
HTTP Basic 은 기본 인증 방식으로써, 일부 설정을 맞춤 구성하는 방법에 대해 알아보자.
예를 들어 인증 프로세스가 실패할 때를 위한 특정한 논리를 구현하거나, 클라이언트로 반환되는 응답의 일부값을 설정하는 등의 작업을 의미한다.
아래는 HTTP Basic 인증 방식을 명시적으로 설정하는 예시이다.
소스는 github 에 있습니다.
/config/ProjectConfig.java
import org.springframework.context.annotation.Bean;
import org.springframework.context.annotation.Configuration;
import org.springframework.security.config.annotation.web.builders.HttpSecurity;
import org.springframework.security.web.SecurityFilterChain;

@Configuration
public class ProjectConfig {
  // HTTP Basic 방식을 명시적으로 설정
  @Bean
  public SecurityFilterChain filterChain(HttpSecurity http) throws Exception {
    // 모든 요청에 인증이 필요
    http.authorizeHttpRequests(authz -> authz.anyRequest().authenticated()).httpBasic(Customizer.withDefaults());

    // 모든 요청에 인증 없이 요청 가능
    //http.authorizeHttpRequests(authz -> authz.anyRequest().permitAll()).httpBasic(Customizer.withDefaults());

    return http.build();
  }
}
아래는 realm (영역) 처럼 인증 방식과 관련된 일부 구성을 변경하는 예시이다.
realm 은 특정 인증 방식을 이용하는 보호 공간으로 생각하면 된다.
import org.springframework.context.annotation.Bean;
import org.springframework.context.annotation.Configuration;
import org.springframework.security.config.annotation.web.builders.HttpSecurity;
import org.springframework.security.web.SecurityFilterChain;

@Configuration
public class ProjectConfig {
  // HTTP Basic 방식을 명시적으로 설정
  @Bean
  public SecurityFilterChain filterChain(HttpSecurity http) throws Exception {
    // 모든 요청에 인증이 필요
    //http.authorizeHttpRequests(authz -> authz.anyRequest().authenticated()).httpBasic(Customizer.withDefaults());

    // 모든 요청에 인증 없이 요청 가능
    //http.authorizeHttpRequests(authz -> authz.anyRequest().permitAll()).httpBasic(Customizer.withDefaults());

    // 인증 방식과 관련한 일부 구성 중 영역 이름을 설정하는 예시
    http.authorizeHttpRequests(authz -> authz.anyRequest().authenticated()).httpBasic(c -> {
      c.realmName("OTHER");
    });

    return http.build();
  }
}
사용된 람다식은 Customizer<HttpBasicConfigurer<HttpSecurity>> 형식의 객체인데, HttpBasicConfigurer<HttpSecurity> 형식의 매개 변수로 realmName() 을 호출하여 영역 이름을 변경할 수 있게 해준다.
이제 curl 에 -v 플래그를 지정한 후 응답을 보면 영역 이름이 변경된 것을 확인할 수 있다.
참고로 WWW-Authenticate 헤더는 응답에서 HTTP 응답 상태가 401 일 때만 있고, 200 일 때는 없다.
$ curl -v -w "%{http_code}" -u user:ccee5f2d-8a4f-4cdf-bcd3-753d328e6ae2 http://localhost:8080/hello

* Authentication problem. Ignoring this.
< WWW-Authenticate: Basic realm="OTHER"
아래는 인증이 실패했을 때 응답을 맞춤 구성하는 예시이다.
/config/CustomEntryPoint.java
import jakarta.servlet.ServletException;
import jakarta.servlet.http.HttpServletRequest;
import jakarta.servlet.http.HttpServletResponse;
import org.springframework.http.HttpStatus;
import org.springframework.security.core.AuthenticationException;
import org.springframework.security.web.AuthenticationEntryPoint;

import java.io.IOException;

public class CustomEntryPoint implements AuthenticationEntryPoint {
  // 응답이 실패했을 때 응답에 헤더를 추가하고, HTTP 상태를 401 로 변경하는 예시
  @Override
  public void commence(HttpServletRequest request, HttpServletResponse response, AuthenticationException authException) throws IOException, ServletException {
    response.addHeader("message", "ASSU, Welcome");
    response.sendError(HttpStatus.UNAUTHORIZED.value());
  }
}
/config/ProjectConfig.java
package com.assu.study.chap0504.config;
import org.springframework.context.annotation.Configuration;
import org.springframework.security.config.annotation.web.builders.HttpSecurity;
import org.springframework.security.web.SecurityFilterChain;

@Configuration
public class ProjectConfig {
  // HTTP Basic 방식을 명시적으로 설정
  @Bean
  public SecurityFilterChain filterChain(HttpSecurity http) throws Exception {
    // 모든 요청에 인증이 필요
    //http.authorizeHttpRequests(authz -> authz.anyRequest().authenticated()).httpBasic(Customizer.withDefaults());

    // 모든 요청에 인증 없이 요청 가능
    //http.authorizeHttpRequests(authz -> authz.anyRequest().permitAll()).httpBasic(Customizer.withDefaults());

    http.authorizeHttpRequests(authz -> authz.anyRequest().authenticated()).httpBasic(c -> {
      c.realmName("OTHER"); // 인증 방식과 관련한 일부 구성 중 영역 이름을 설정
      c.authenticationEntryPoint(new CustomEntryPoint()); // 맞춤형 진입점 등록
    });

    return http.build();
  }
}
이제 응답이 실패하도록 엔드포인트를 호출하면 위에서 추가한 헤더가 나타나는 것을 확인할 수 있다.
$ curl -v -w "%{http_code}" http://localhost:8080/hello

< message: ASSU, Welcome
2. 양식 기반 로그인으로 인증
양식 기반 로그인의 경우
SecurityContext를 관리하는 데 있어서 서버 쪽 세션을 사용함
scale-out 이 필요한 대형 애플리케이션에서SecurityContext를 관리하는 데 서버 쪽 세션을 이용하는 것은 좋지 않음
인증하지 않은 사용자는 자격 증명으로 인증하기 위한 양식으로 리디렉션되고, 인증한 후에는 애플리케이션의 홈으로 리디렉션하는 흐름의 양식 기반 로그인에 대해 알아본다.
소스는 github 에 있습니다.
/config/ProjectConfig.java
import org.springframework.context.annotation.Bean;
import org.springframework.context.annotation.Configuration;
import org.springframework.security.config.Customizer;
import org.springframework.security.config.annotation.web.builders.HttpSecurity;
import org.springframework.security.web.SecurityFilterChain;

@Configuration
public class ProjectConfig {
  // 양식 기반 인증 방식
  @Bean
  public SecurityFilterChain filterChain(HttpSecurity http) throws Exception {
    // 모든 요청에 인증이 필요
    http.authorizeHttpRequests(authz -> authz.anyRequest()
            .authenticated())
        .formLogin(Customizer.withDefaults());

    // 모든 요청에 인증 없이 요청 가능
    //http.authorizeHttpRequests(authz -> authz.anyRequest().permitAll()).httpBasic(Customizer.withDefaults());

    return http.build();
  }
}
스프링 시큐리티는 기본적으로 로그인 양식과 로그아웃 페이지를 제공하고 있기 때문에 localhost:8080 으로 접속하면 localhost:8080/login 으로 리디렉션되는 것을 확인할 수 있다.
따로 UserDetailsService 를 등록하지 않으면 기본 제공된 자격 증명으로 로그인할 수 있다.
이 때 자격 증명은 user 와 콘솔에 찍히는 UUID 암호이다.
/controller/HelloController.java
import org.springframework.stereotype.Controller;
import org.springframework.web.bind.annotation.GetMapping;

@Controller
public class HelloController {
  @GetMapping("home")
  public String home() {
    return "home.html";
  }
}
/resources/static/home.html
<h1>Welcome</h1>
이제 localhost:8080/home 에 접근 시 로그인 페이지로 리디렉션되고, 로그인 후에 home 페이지로 리디렉션된다.
localhost:8080/logout 으로 접근하면 로그아웃 페이지로 리디렉션된다.
아래는 인증 성공 시 /home 으로 리디렉션하는 예시이다.
/config/ProjectConfig.java
import org.springframework.context.annotation.Bean;
import org.springframework.context.annotation.Configuration;
import org.springframework.security.config.annotation.web.builders.HttpSecurity;
import org.springframework.security.web.SecurityFilterChain;

@Configuration
public class ProjectConfig {
  // 양식 기반 인증 방식
  @Bean
  public SecurityFilterChain filterChain(HttpSecurity http) throws Exception {
    // 모든 요청에 인증이 필요
    http.authorizeHttpRequests(authz -> authz.anyRequest()
            .authenticated())
        .formLogin(f -> f.defaultSuccessUrl("/home", true));  // 인증 성공 시 /home 으로 이동

    return http.build();
  }
}
더 세부적인 맞춤 구성이 필요하면 AuthenticationSuccessHandler 와 AuthenticationFailureHandler 를 구현하면 된다.
/handler/CustomAuthenticationSuccessHandler.java
import jakarta.servlet.ServletException;
import jakarta.servlet.http.HttpServletRequest;
import jakarta.servlet.http.HttpServletResponse;
import org.springframework.security.core.Authentication;
import org.springframework.security.web.authentication.AuthenticationSuccessHandler;
import org.springframework.stereotype.Component;

import java.io.IOException;

@Component
public class CustomAuthenticationSuccessHandler implements AuthenticationSuccessHandler {
  // 인증 성공 시 부여된 권한에 따라 다른 리디렉션 수행
  @Override
  public void onAuthenticationSuccess(HttpServletRequest request, HttpServletResponse response, Authentication authentication) throws IOException, ServletException {
    var authorities = authentication.getAuthorities();

    var auth = authorities.stream()
        .filter(a -> a.getAuthority().equals("read"))
        .findFirst();

    if (auth.isPresent()) {
      response.sendRedirect("/home");
    } else {
      response.sendRedirect("/error");
    }
  }
}
/handler/CustomAuthenticationFailureHandler.java
import jakarta.servlet.ServletException;
import jakarta.servlet.http.HttpServletRequest;
import jakarta.servlet.http.HttpServletResponse;
import org.springframework.security.core.AuthenticationException;
import org.springframework.security.web.authentication.AuthenticationFailureHandler;
import org.springframework.stereotype.Component;

import java.io.IOException;
import java.time.LocalDateTime;

@Component
public class CustomAuthenticationFailureHandler implements AuthenticationFailureHandler {
  // 인증 실패 시 헤더에 값 추가
  @Override
  public void onAuthenticationFailure(HttpServletRequest request, HttpServletResponse response, AuthenticationException exception) throws IOException, ServletException {
    response.setHeader("failed", LocalDateTime.now().toString());
  }
}
/config/ProjectConfig.java
import com.assu.study.chap0505.handler.CustomAuthenticationFailureHandler;
import com.assu.study.chap0505.handler.CustomAuthenticationSuccessHandler;
import org.springframework.context.annotation.Bean;
import org.springframework.context.annotation.Configuration;
import org.springframework.security.config.annotation.web.builders.HttpSecurity;
import org.springframework.security.web.SecurityFilterChain;

@Configuration
public class ProjectConfig {
  private final CustomAuthenticationSuccessHandler customAuthenticationSuccessHandler;
  private final CustomAuthenticationFailureHandler customAuthenticationFailureHandler;

  public ProjectConfig(CustomAuthenticationSuccessHandler customAuthenticationSuccessHandler, CustomAuthenticationFailureHandler customAuthenticationFailureHandler) {
    this.customAuthenticationSuccessHandler = customAuthenticationSuccessHandler;
    this.customAuthenticationFailureHandler = customAuthenticationFailureHandler;
  }

  // 양식 기반 인증 방식
  @Bean
  public SecurityFilterChain filterChain(HttpSecurity http) throws Exception {
//    http.authorizeHttpRequests(authz -> authz.anyRequest()
//            .authenticated())
//        .formLogin(f -> f.defaultSuccessUrl("/home", true));  // 인증 성공 시 /home 으로 이동

    http.authorizeHttpRequests(authz -> authz.anyRequest()
            .authenticated())
        .formLogin(f -> {
          f.successHandler(customAuthenticationSuccessHandler);
          f.failureHandler(customAuthenticationFailureHandler);
        });

    return http.build();
  }
}
이 상태로 올바른 자격 증명을 사용하여 HTTP Basic 방식으로 /home 에 접근하면 HTTP 302 가 내려온다.
$ curl -w "%{http_code}" -u user:b1f0bec7-7748-4e39-9dc1-74208f85dd80 http://localhost:8080/hello
302%
올바른 자격 증명을 입력해도 formLogin() 메서드의 요청에 따라 사용자를 로그인 양식으로 보내려고 시도하기 때문에 302 임시 이동 응답이 내려오는 것이다.
아래처럼 HTTP Basic 과 양식 기반 로그인 방식 모두 지원하도록 구성 변경이 가능하다.
@Bean
public SecurityFilterChain filterChain(HttpSecurity http) throws Exception {
//    http.authorizeHttpRequests(authz -> authz.anyRequest()
//            .authenticated())
//        .formLogin(f -> f.defaultSuccessUrl("/home", true));  // 인증 성공 시 /home 으로 이동

http.authorizeHttpRequests(authz -> authz.anyRequest()
        .authenticated())
    .httpBasic(Customizer.withDefaults())
    .formLogin(f -> {
      f.successHandler(customAuthenticationSuccessHandler);
      f.failureHandler(customAuthenticationFailureHandler);
    });

return http.build();
}
$ curl -w "%{http_code}" -u user:9182d1d5-8cbc-4b24-a3ce-ffe12a2a9308 http://localhost:8080/home
<h1>Welcome</h1>
200%
마치며…
SecurityContext는 인증이 성공한 후 인증된 엔티티의 세부 정보를 유지함SecurityContext를 관리하는 데에는MODE_THREADLOCAL,MODE_INHERITABLETHREADLOCAL,MODE_GLOBAL전략을 이용할 수 있으며, 선택한 전략에 따라 다른 스레드에서SecurityContext세부 정보에 접근하는 방법이 달라짐- 공유 스레드 로컬 전략을 사용할 때는 스프링이 관리하는 스레드에만 전략이 적용됨, 프레임워크는 자신이 관리하지 않는 스레드에는
SecurityContext를 복사하지 않음
참고 사이트 & 함께 보면 좋은 사이트
본 포스트는 로렌티우 스필카 저자의 스프링 시큐리티 인 액션을 기반으로 스터디하며 정리한 내용들입니다.
- 스프링 시큐리티 인 액션
- Configuration Migrations
- Spring Boot 3.x + Security 6.x 기본 설정 및 변화
- 스프링 부트 2.0에서 3.0 스프링 시큐리티 마이그레이션 (변경점)
